has been added to your cart.
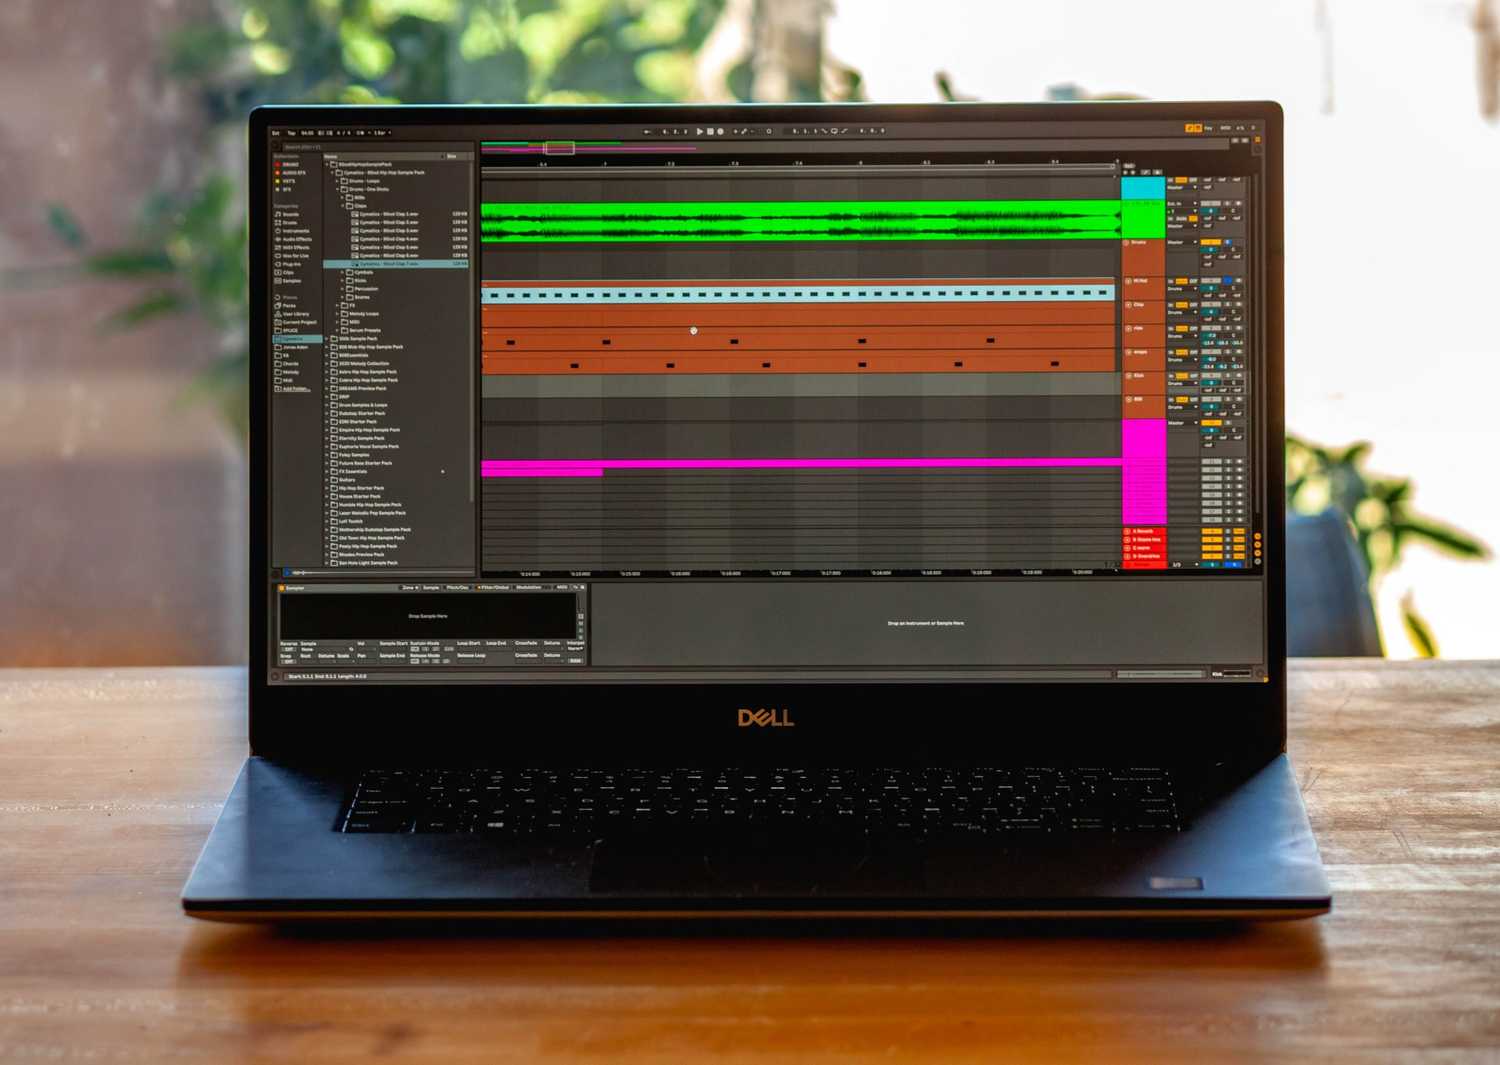
Sampling With Ableton’s Stock Plug-ins
Intuitively placed and well-sliced samples provide the backbone to many modern dance music records, and though traditionalists still exist, it’s fair to say that the majority of vinyl samplers are long gone - yet the principles of “sampling”still remain much the same.
While the source material has undoubtedly shifted from the bargain bins in local record shops, to internet-based download mediums – the number of producers making the most out of records from days gone by has never been greater.
2018 hosts a vast range of production tools that greatly assist with sampling, performing and transforming pre-recorded audio. Though, for the purposes of the Toolroom Academy Production Certificate, this article will focus predominantly on sampling using Ableton Live’s stock plugins.
Identify the sample
Since Ableton live is a “Digital Audio Workstation” or DAW for short, you will never be restricted to any one piece of hardware. The beauty is, you can use any combination of the mouse and MIDI controllers to do all of your chopping and slicing.
Before you dive headfirst into the world of sampling, you must begin by locating your source material. The raw sample if you will, which for the record, is a total art form in itself.
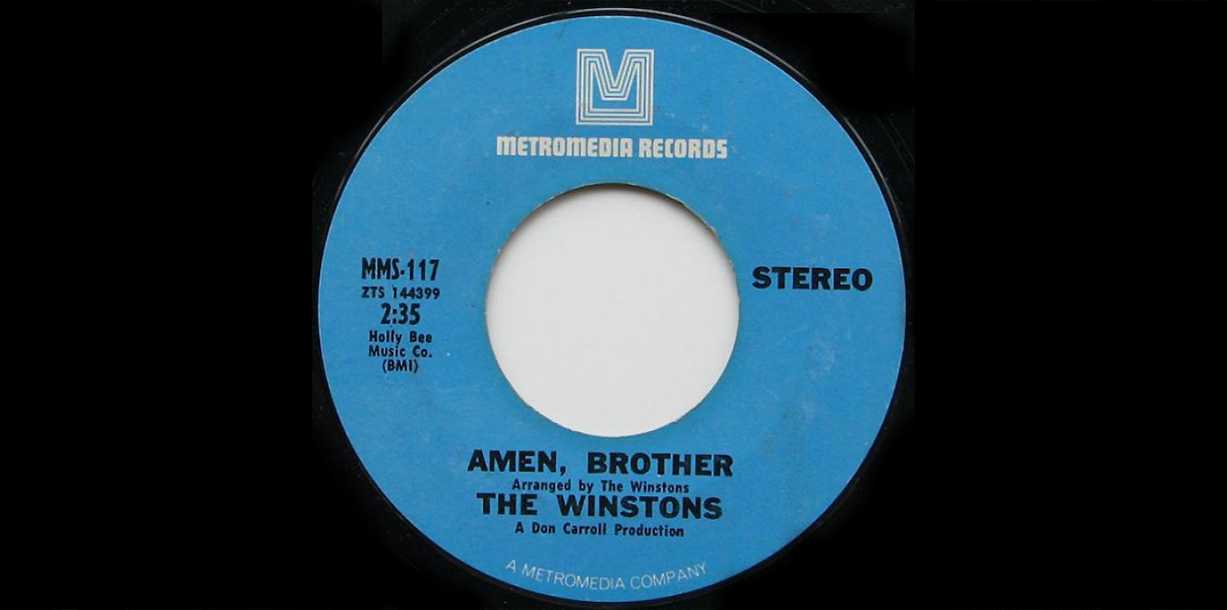
Generally speaking, your source material will greatly depend on the style of music you wish to produce, so if you’re sniffing anywhere around Tech House, a great place to start would be an old Hip Hop, Funk or Soul record (but no creativity points for James Brown or Whitney Houston samples!).
Warp It
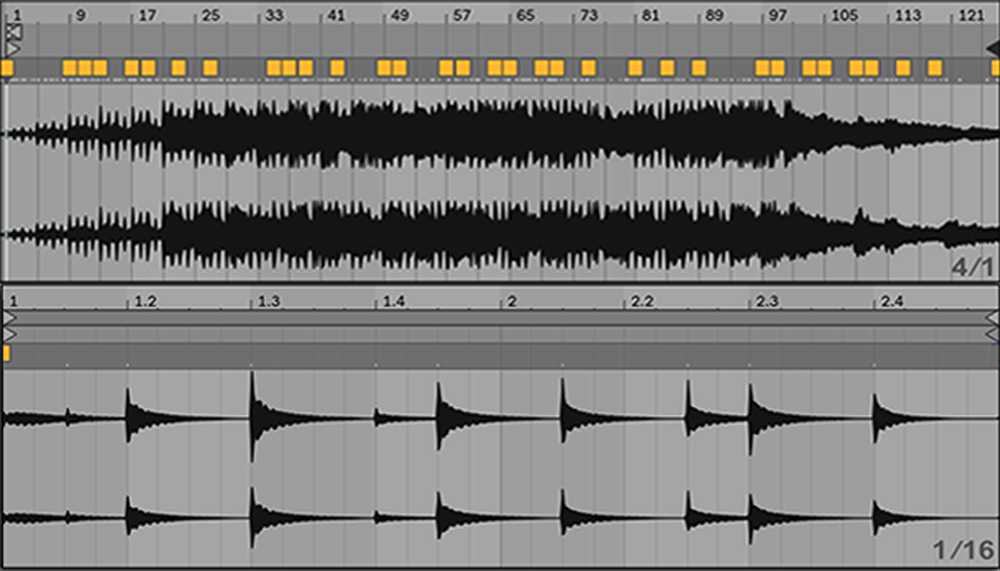
Once you have chosen the record or segment you’d wish to sample, your first job is to warp it up. By using the warp function, you will be able to lock the beat to a grid, allowing you to time-stretch and manipulate the track tempo whilst staying in sync at all times – ideal for mash-ups, beat matching and more importantly, sampling!
Your first step will be to identify the first beat and place a marker on it. To do this, double click on the transient above the ‘one’ on the grid to create a yellow marker. Next Ctrl + click on the yellow marker and select “Set 1.1.1 here”, then do the same again but press “Warp From Here”. At this point your track will be warped to the grid and will snap to any BPM you set. Play around with the positioning of the yellow markers for a tighter warp, or the warp modes for a better sound. Complex or Complex Pro are the most desirable modes for a clean mix.
Isolate the Sample
To isolate the sample, you will need to begin by finding the part of the record that has isolated instrumental parts. Usually found in breaks, in the intro or in the outro. Sometimes the part you’re after might only be two beats long, but if you can find it and isolate it, then you can use it in a creative way. Drum breaks, solo vocal parts and any instrumental parts that are detached from any other background sound are great. Find where you wish to split the clip and click on the first desired position in the waveform, then perform the keyboard shortcut Cmd + E to split it.
Get Your Sample in Key
Matching the key or pitch of your sample is an absolutely essential production process if you’re serious about your craft. Some musicians may opt to adjust the pitch by tweaking the tempo, others may opt for programs which use pitch-shifting algorithms. Both options may produce some sizeable processing artefacts, but one group of side effects may be better suited to the sample than the other. So you’ll need to weigh that up.
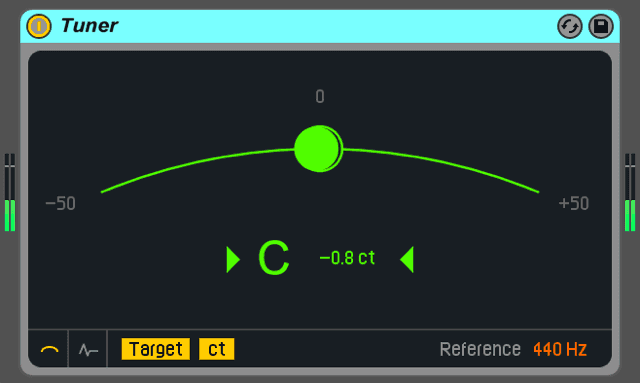
We prefer to shift pitch across a wide range of semitones to deal with most harmonic clashes we might come across. Using Ableton’s tuner plugin, load up your sample to identify the key, then operate Ableton’s 12 semitone transposition tool to adjust your semitones until you have a match!
Clean It Up
On occasion you might find that with the nature and source of your sample, it will come with background noise already in the audio file. Sometimes this may not be a problem if the sample is inserted into a busy mix, but samples that occupy more space in a lighter arrangement may require some processing fixes.
Generally speaking, a high cut EQ will be able to tackle the much loathed ‘hiss’ frequencies, but more often than not, this process will leave you with a pretty dull sounding sample. Likewise, full-band dynamic processing will infrequently provide the answer too, as it only works between the gaps in the sounds, and you’ll rarely find a sample that’s been cut out of a track that hasn’t previously been mixed down.
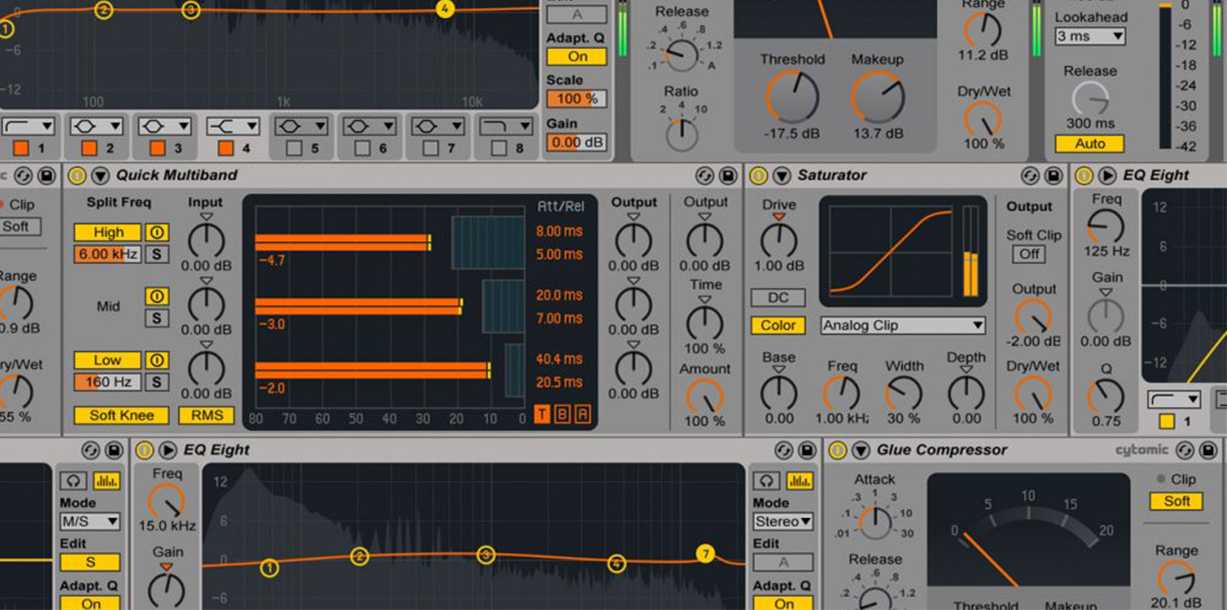
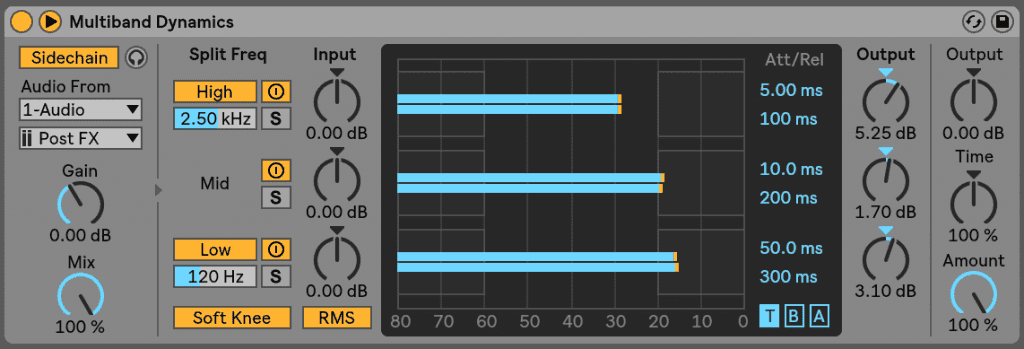
Failing the above, the best plan of action would be a multi-band dynamic processor, to target only the felonious high-frequency region. Drag Ableton’s Multiband Dynamics plugin into your sample channel and begin to tweak the fast-acting low-threshold expander at a ratio of about 1:2:1 just above 2-4kHz. This will track the high frequency of the chosen elements, with roughly 6dB of noise reduction before the sample starts to sound muffled and lifeless. If you need more specialist hiss-removing software you’d need to opt for something a little hardier such as Izotope RX2.
On the other hand, you might find a sample with some beneficial vinyl crackle that may suit the vibe of your track. If the transients are a little sharp, you can always round them off with Ableton’s transient designer.
Mixing The Sample
Another issue that needs to be addressed is that the record in which you sampled was designed to stand alone, rather than having to contest with other sounds – therefore however cautious you are in constructing the rest of your track, the sample may still need some drastic EQ changes. In this instance, pulling out a powerful high-pass filter is a common procedure. Otherwise, try and treat the sample like any other track when it comes to mixdown. If you can’t hear anything significant in the sample, cut away regions of other tracks that might be disguising it. Failing that, investigate whether a few EQ dips in the sample could clean up the mix.
In Conclusion
Sampling can offer some amazingly creative opportunities. With the techniques described above, you will be able to overcome most of the common hurdles that you can face when working with samples, so you can focus your efforts on finishing those all-important demos!
Login
X
