has been added to your cart.

Ableton Mastering Chains: An In Depth Guide
Today, we're going to discuss how to use Ableton mastering chains made only from stock plugins to get you started!
Have you ever wondered how some of your favourite tracks manage to ‘hit’ so hard? Does it perplex you how a record you download from Beatport can have clearly audible bass on a laptop speaker? Mastering is the answer! Proper mastering is an absolutely crucial aspect of modern music production that too many aspiring producers overlook. So, how can you have a go at understanding how to master your own records? Today, we’re going to discuss how to use Ableton mastering chains made only from stock plugins to get you started!
What Is Mastering?
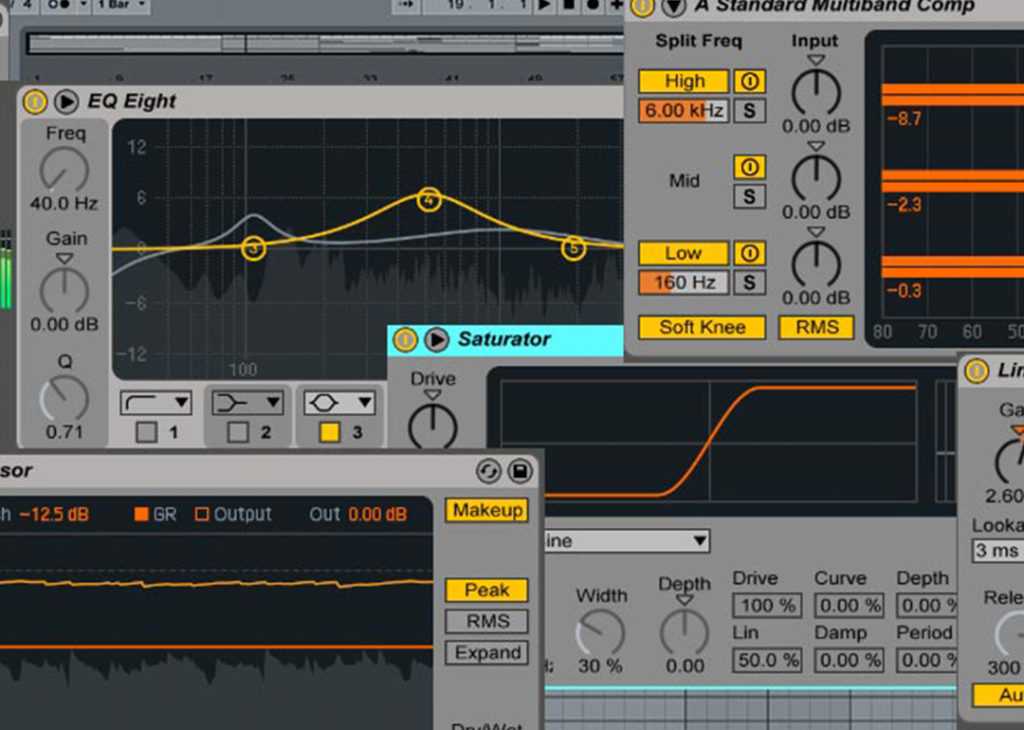
Mastering is the balancing act between frequency ranges in your track. In more technical terms, it involves ‘mastering’ the ratio between the bass, mid, and high frequencies.
As well as this, mastering involves cleaning some of the frequencies that are emphasised too much in your mix, whilst also increasing the general loudness of your track without clipping, distorting, or compromising the overall sound and vibe.
A Few Things to Point Out
First of all, if you’re looking to get signed, you absolutely must have a master pass done on your track before sending it out!
It doesn’t matter if you do it yourself, or you send it off to the pros, this step must not be skipped.
Second, it is important to note that your mix needs to be as good as you can get it. The better the mix, the better the master will sound!
While every single master will require slightly different treatment, but the chain and process will usually be fairly similar.
Why Use An Ableton Mastering Chain?
This guide should be viewed as an option for mastering beginners who want a little help in getting their tracks to sound big. Luckily, if you follow these steps, you can get a grip of mastering without forking out thousands on expensive plugins.
The mastering chain we present here today is useful for testing out your new productions in clubs, and maybe even sending the occasional demo once you have it down pat. For a more advanced guide that uses proprietary plugins, check out our User Guide To Mastering.
When it comes to releasing your music, however, we always recommend that you pay a mastering engineer to master your tracks.
Toolroom has now made the same mastering team that looks after the label releases available to the public. You can enquire about the service here!
Do It Yourself: Ableton Mastering Chains with Stock Plugins
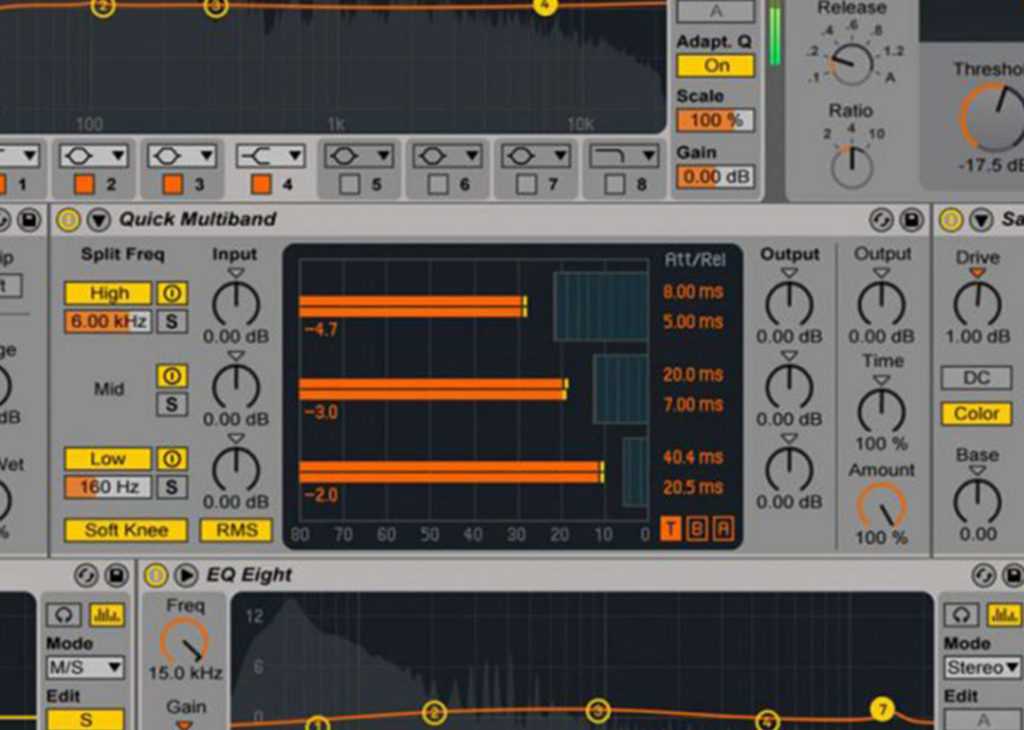
In this step by step guide, we will be DIY mastering straight from an original Ableton Live project, via the master output.
Below is a link to the Ableton stock plugins used in the chain!
EQ8 – For Low Cutting
Glue Compression
EQ8 – For Clean Up
Multiband Compression
Punch Compression
Sustain Compression
EQ8 – Final Touches
Limiting
Let’s dive straight into each plugin used in our master chain!
EQ8 – For Low Cutting
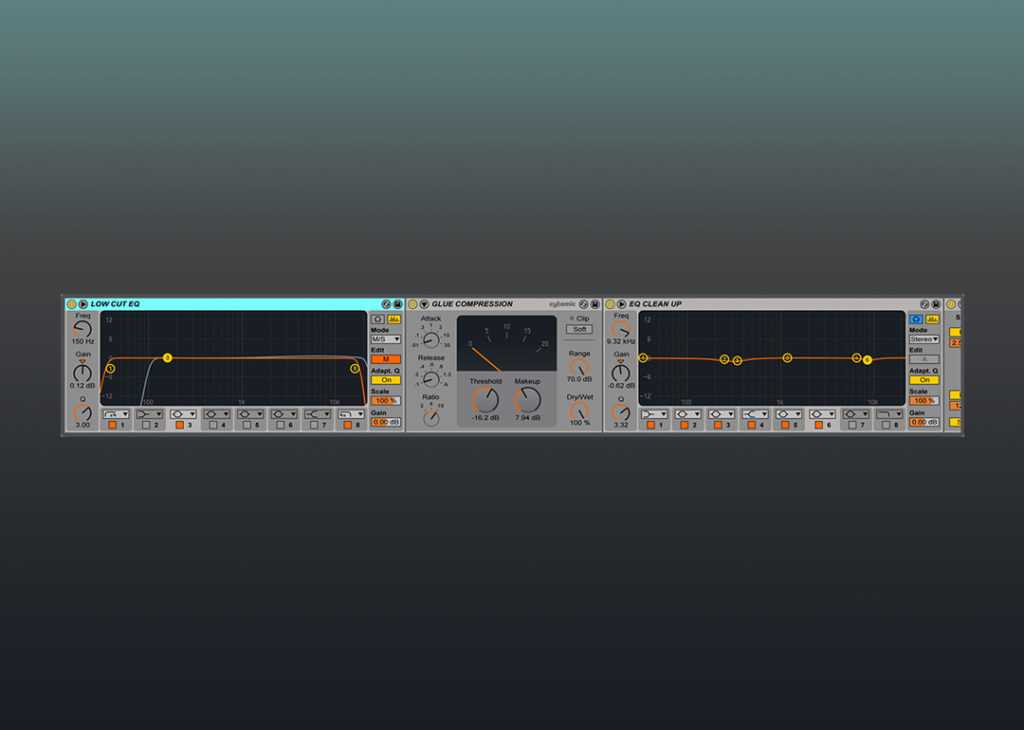
First up in our mastering chain we start with an EQ8 is set to mid-side mode, or “M/S.”
This will enable us to make low-frequency cuts, ensuring that everything below a certain point will be set to mono.
We do this because club monitoring systems are generally in mono, meaning that they will not pick up any bass frequencies on the side. With mid-side mode on, go ahead and cut the low-frequency level at around 100Hz.
The second EQ cut we need to make is with the mid mode selected. This time, we’re making another low cut, but in the middle of the EQ spectrum. Make a steep low cut at around 35Hz just to round off those low frequencies.
Glue Compression – A Crucial Part of Your Ableton Mastering Chain
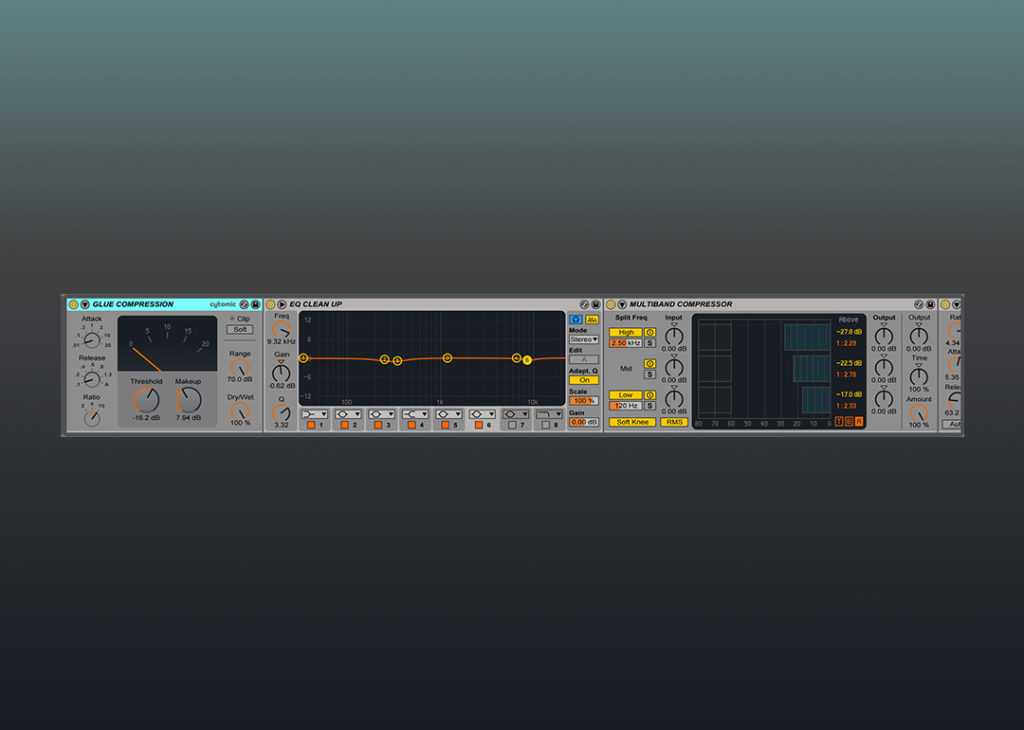
Next, we want to start working on the balance of our track by bringing out the peaks. This will allow our overall frequency picture to sound, feel and look more balanced and ‘glued’.
We recommend using Ableton’s Factory Preset ‘Catch Peaks’ for this. Feel free to copy our settings below!
EQ & Cleaning Up
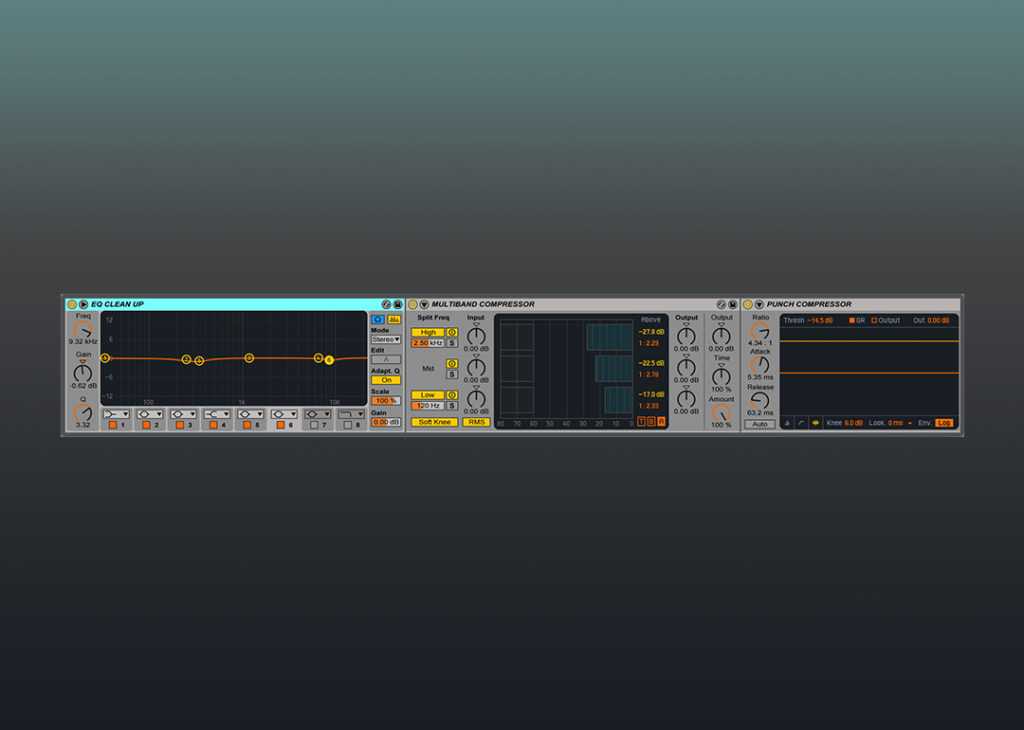
Our next job involves cleaning out some annoying frequencies in the mix. This is always going to be different for every mix, but you’ll always find room for some gentle EQ cuts. For this section of the mastering chain, we would only recommend small EQ changes. Experiment yourself to see what feels good to you. Remember: LESS IS MORE.
Multiband Compression
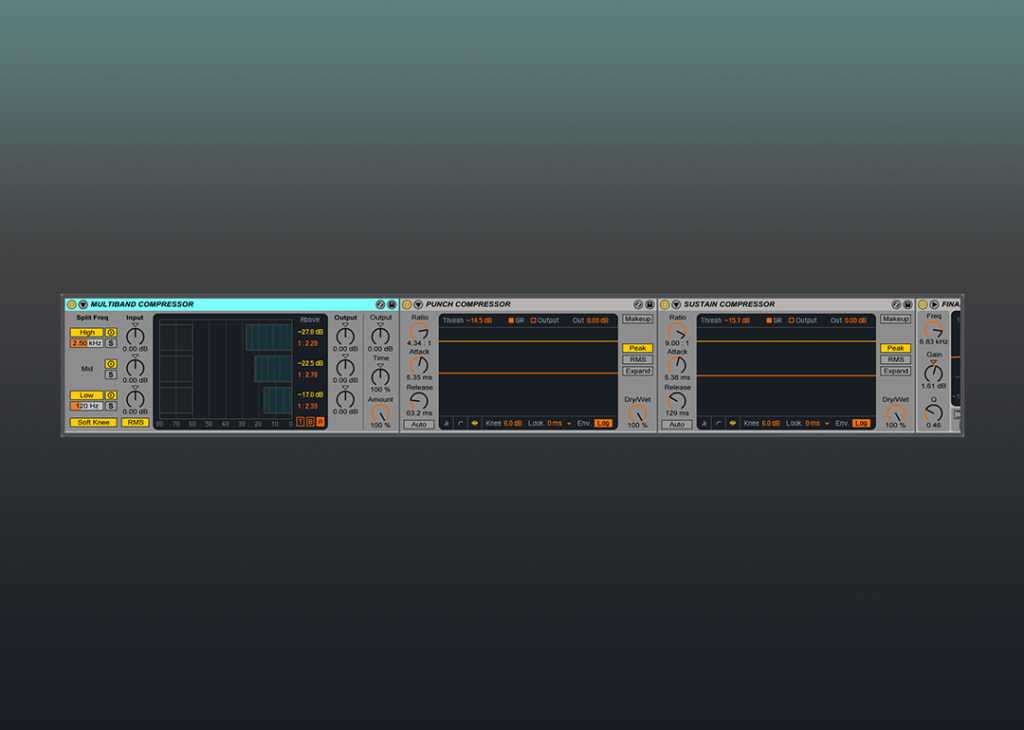
The next plugin we are applying in this chain is a multiband compressor.
Multiband compression is the mastering engineers secret weapon. In a nutshell, it splits the audio signal into frequency ‘bands’, allowing you to process and balance each out separately.
Start by adjusting the attack/release within each frequency band. Starting with the low end, apply a slow attack at between 30/40ms with a longer release time between 800/900ms. Moving onto the mid-band, we could suggest an attack or around 10ms and release around 200ms. Finally, your high-end frequencies could be set at around 5ms attack and 100ms release.
Be sure to experiment with thresholds and ratios to achieve a compression balance that works for your mix.
Careful choices of attack, release and ratio settings are vital, especially the placement of the frequency crossover bands.
Where you choose to split the audio into bands, and how many bands you use, will have a big impact on the end result.
Punch Compression
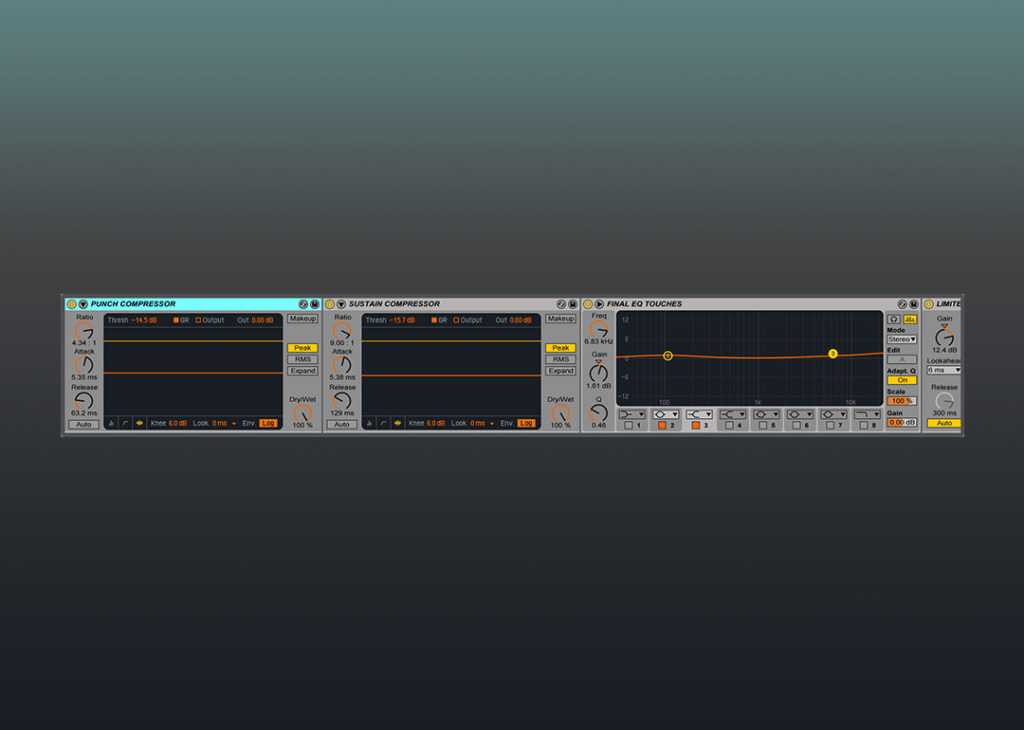
Next up in the mastering chain, many would use a compressor to work on the entire signal to add punch. Start by dragging another compressor into your chain, and adjusting the attack time to 5ms and a short release time of roughly 63. Do this at a standard radio of 4:3:1
Sustain Compression
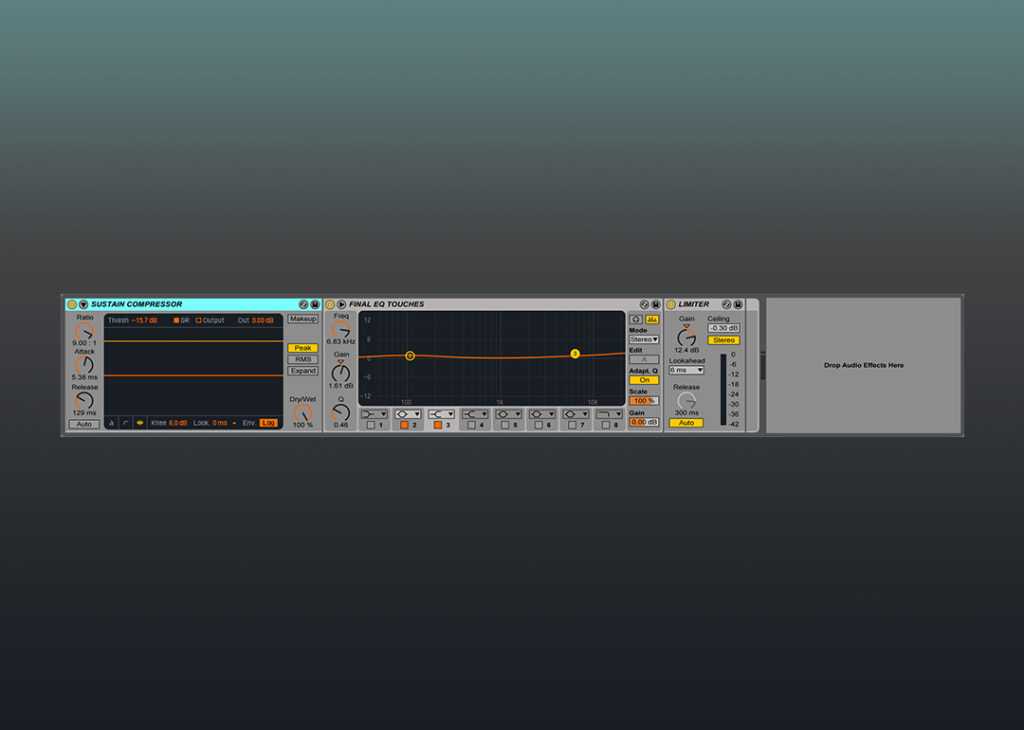
Following this, we need to flatten the signal whilst adding loudness and depth with a higher ratio and longer release. Duplicate the punch compressor in your chain, and adjust the ratio to 9:0:1. Finally, adjust the release time to around 130ms.
Last EQ Touches – The Final Step of Most Ableton Mastering Chains
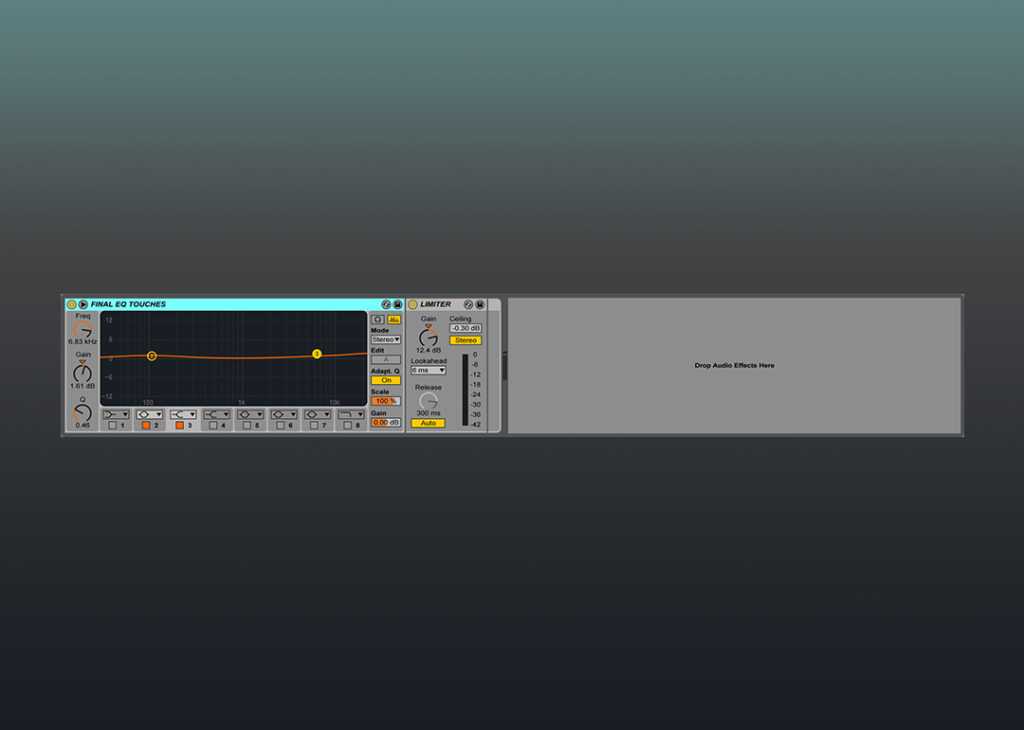
Now that our mix is nicely flattened, it’s time to do some final touch-ups to the EQ. Do this to bring back some of the dynamics that we had before squashing our mix.
Limiting
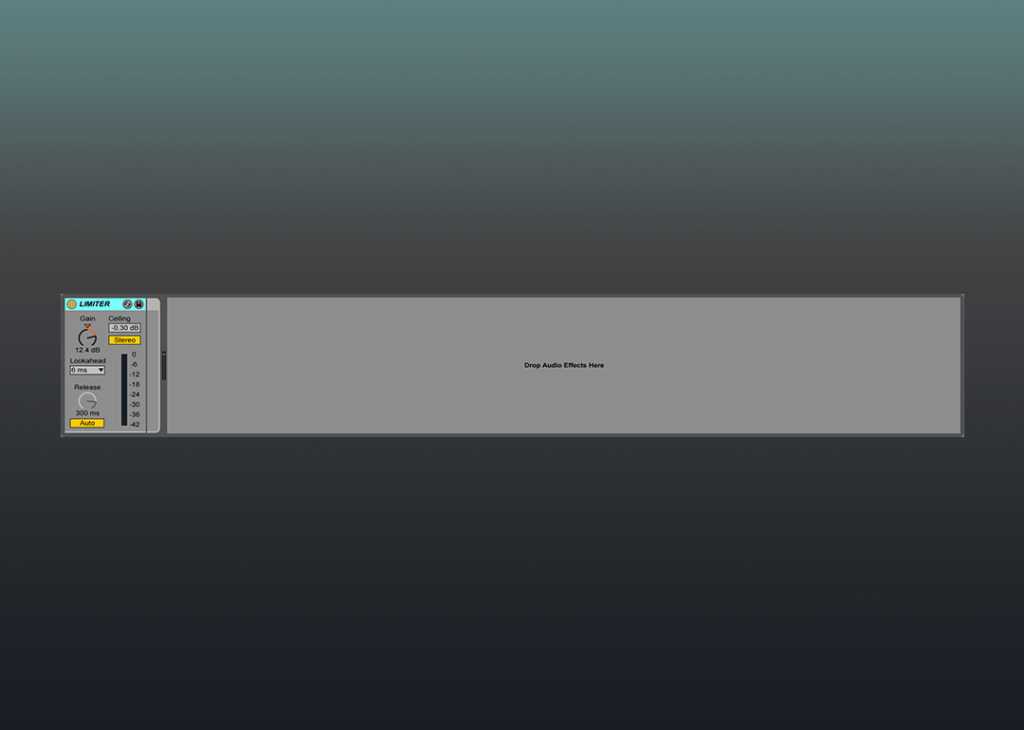
With a little headroom left in the mix, it’s time to use a limiter to ‘give’ a lot of your gain back. Depending on your levels, you can usually give about 8-12db back into your mix. Be careful here, as you can quite easily go overboard!
Conclusion: Should I Master My Own Records?
There are several philosophies within mastering. For us, this is an interesting place to start with mastering your own records.
With Ableton mastering chains like this, you can easily get a decent sounding master out of your songs. While running your music through analog gear would always be preferable, this is a great place to start.
Still not feeling your masters match the levels of the pros? Toolroom is proud to offer its very own mastering service.
While mastering engineers are a dime a dozen, it is important to be selective with who you allow touching your work as a new producer. Why not have your tracks worked on by the same engineers master some of today’s biggest hits?
Getting that extra 15% out of each record you make is absolutely essential, and a quality mastering can take a “good” record and make it truly great.
Login
X
